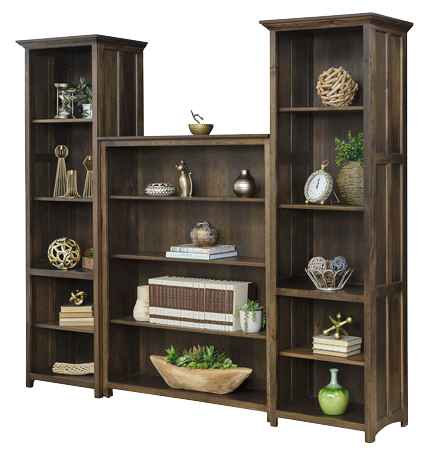
DESIGN YOUR IDEAL BOOKCASE OR WALL UNIT!
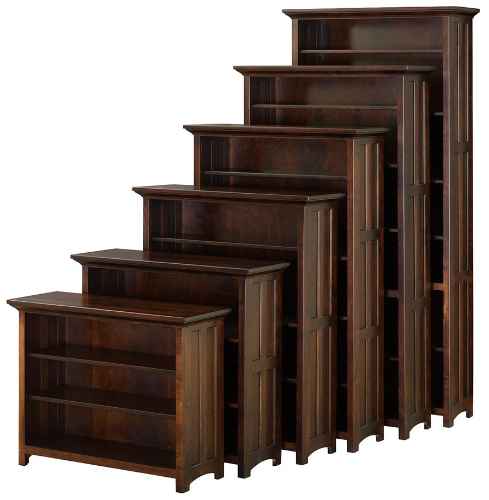
Easy to order + endless solutions = a breeze to customize!
Choose exactly what you want in size, side style and door options. With this easy-to-use program you can design wall units, entertainment towers, display cases, hall consoles, and more! Or yes, you can simply order bookcases too! All sizes now also available with optional accent lighting!
It’s as easy as following seven simple steps to create your ideal wall solutions.
Just imagine the possibilities!
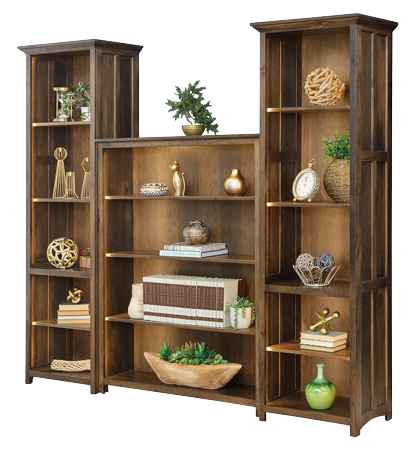
Follow these six simple steps.
As with all of our furniture, you can create your unique piece using any species, finish, and hardware.
Step 1: Choose your height
B30 – 30”
B36 – 36”
B48 – 48”
B60 – 60”
B72 – 72” H
Step 2: Choose your depth
12” D
16” D
20” D
Step 3: Choose your width
24” W
30” W
36” W
42” W
48” W
60” W*
*Divider in center
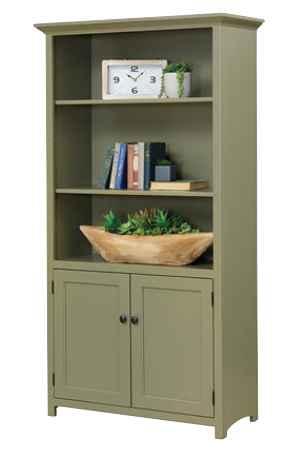
Step 4 (optional): Choose a door style, if desired, or leave it open
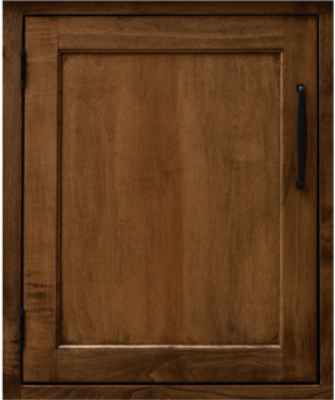
FP: Flat Panel Doors
In this first step, you need to pinpoint the piece of furniture that you like but need customized in order to fit your needs.
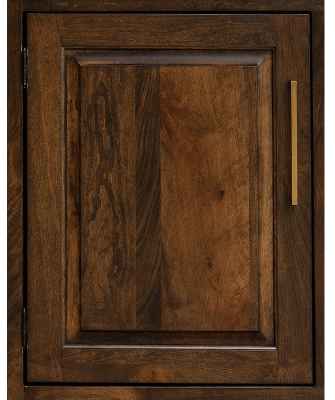
RP: Raised Panel Doors
In this second step, you can either sketch out your ideas or just list your ideas and sizes so your sales associate can communicate them to us.
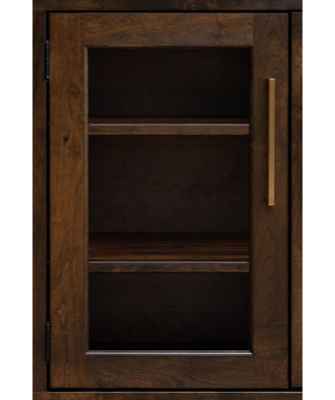
G: Glass Doors
In this third step, you will review your custom order with your sales associate and approve the design so we can build and deliver it to you.
Note:
- Doors for 30 to 48” height bookcases are full length.
- All other heights are 24” door on bottom of cabinet.
- Doors can also be ordered for top of cabinets.
Step 5: If desired, choose a custom trim style (optional)
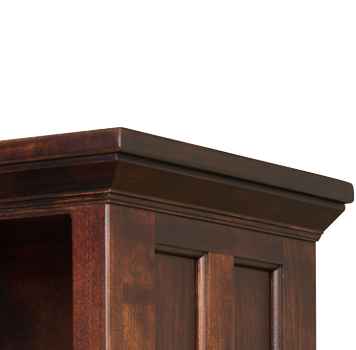
C: Crown Molding
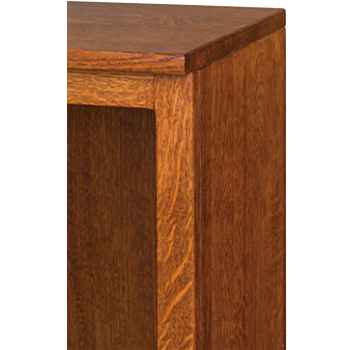
Flush cut tops to create wall units
F2: Flush cut both sides
FL: Flush cut left side
FR: Flush cut right side
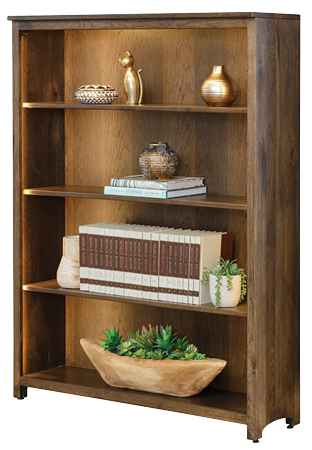
Step 6: If desired, add accent lighting (optional)
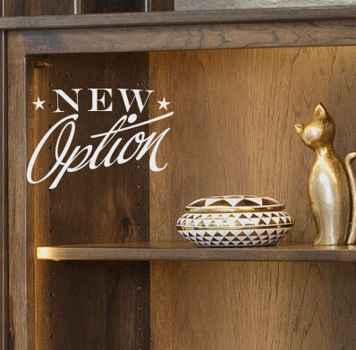
Add classy LED accent lighting!
Receive your dream wall unit!
